

Your Go-To Guide for Beautiful, Functional Shower Doors
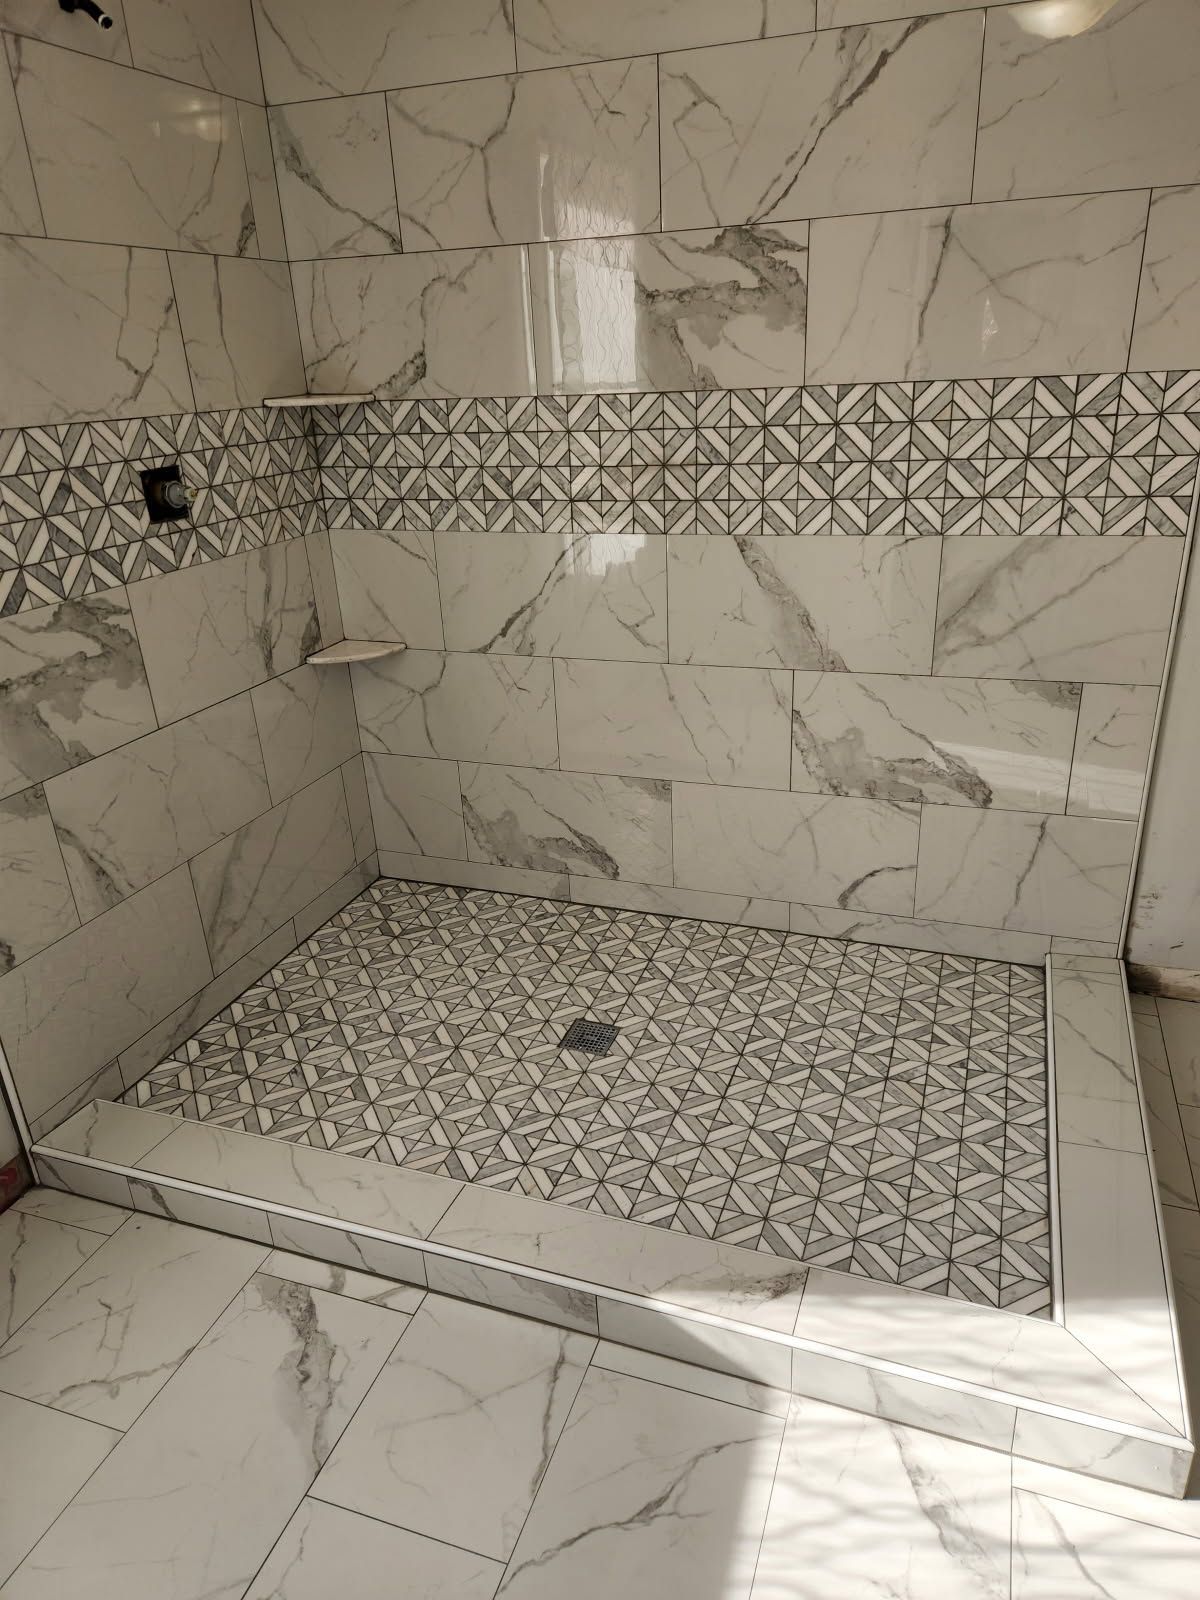
The Perfect Blend of Style and Structure

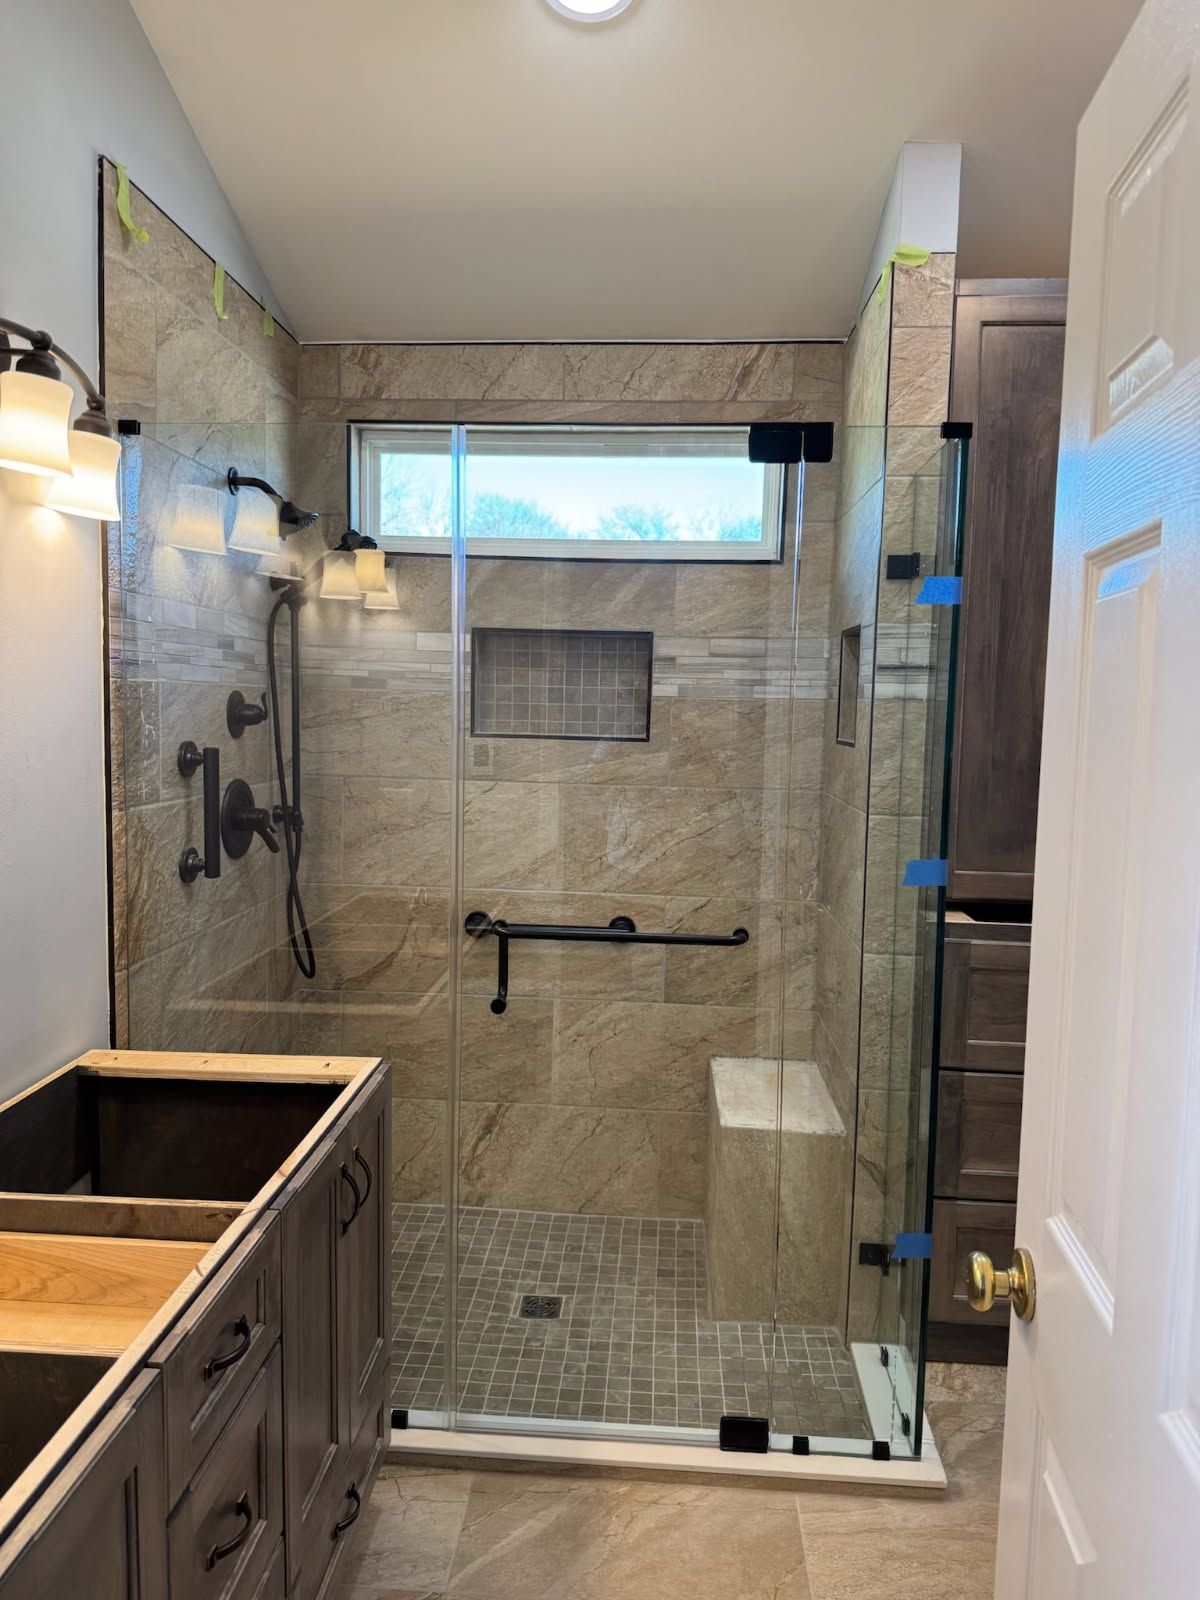
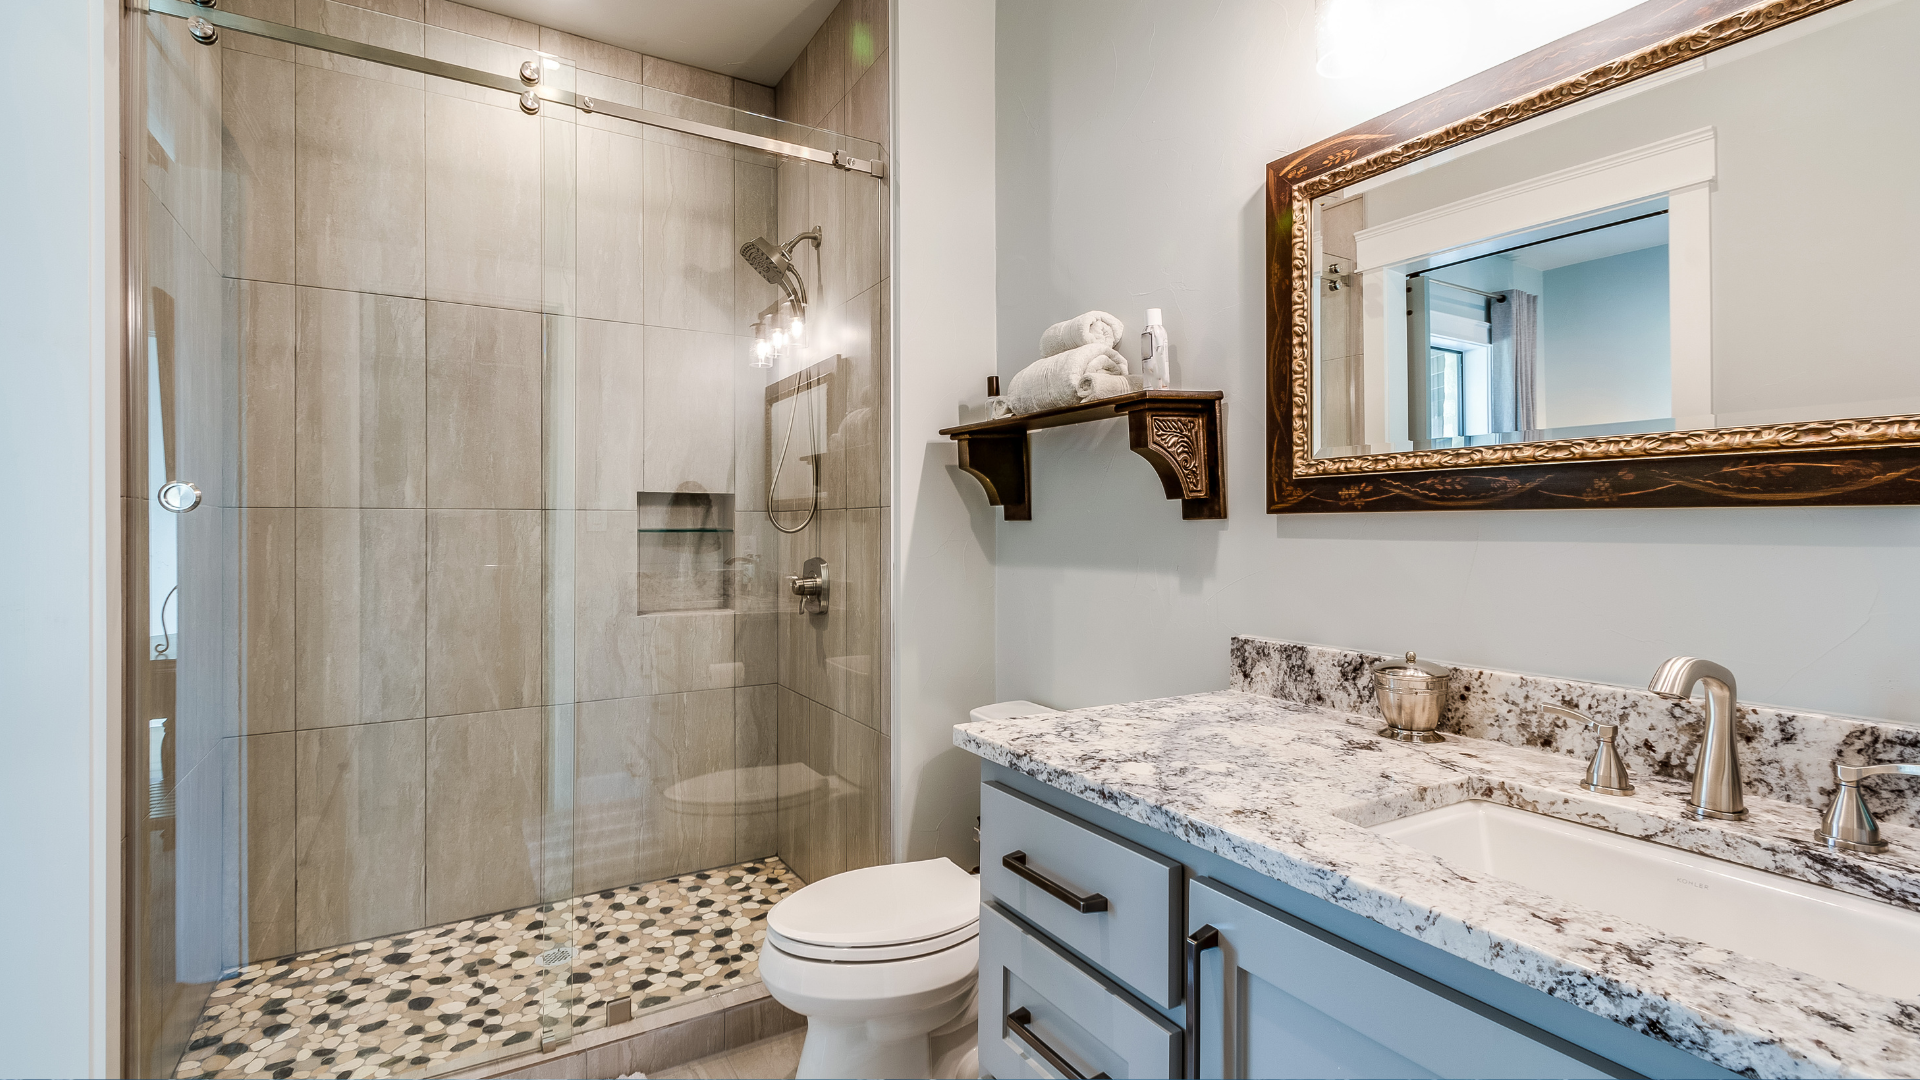
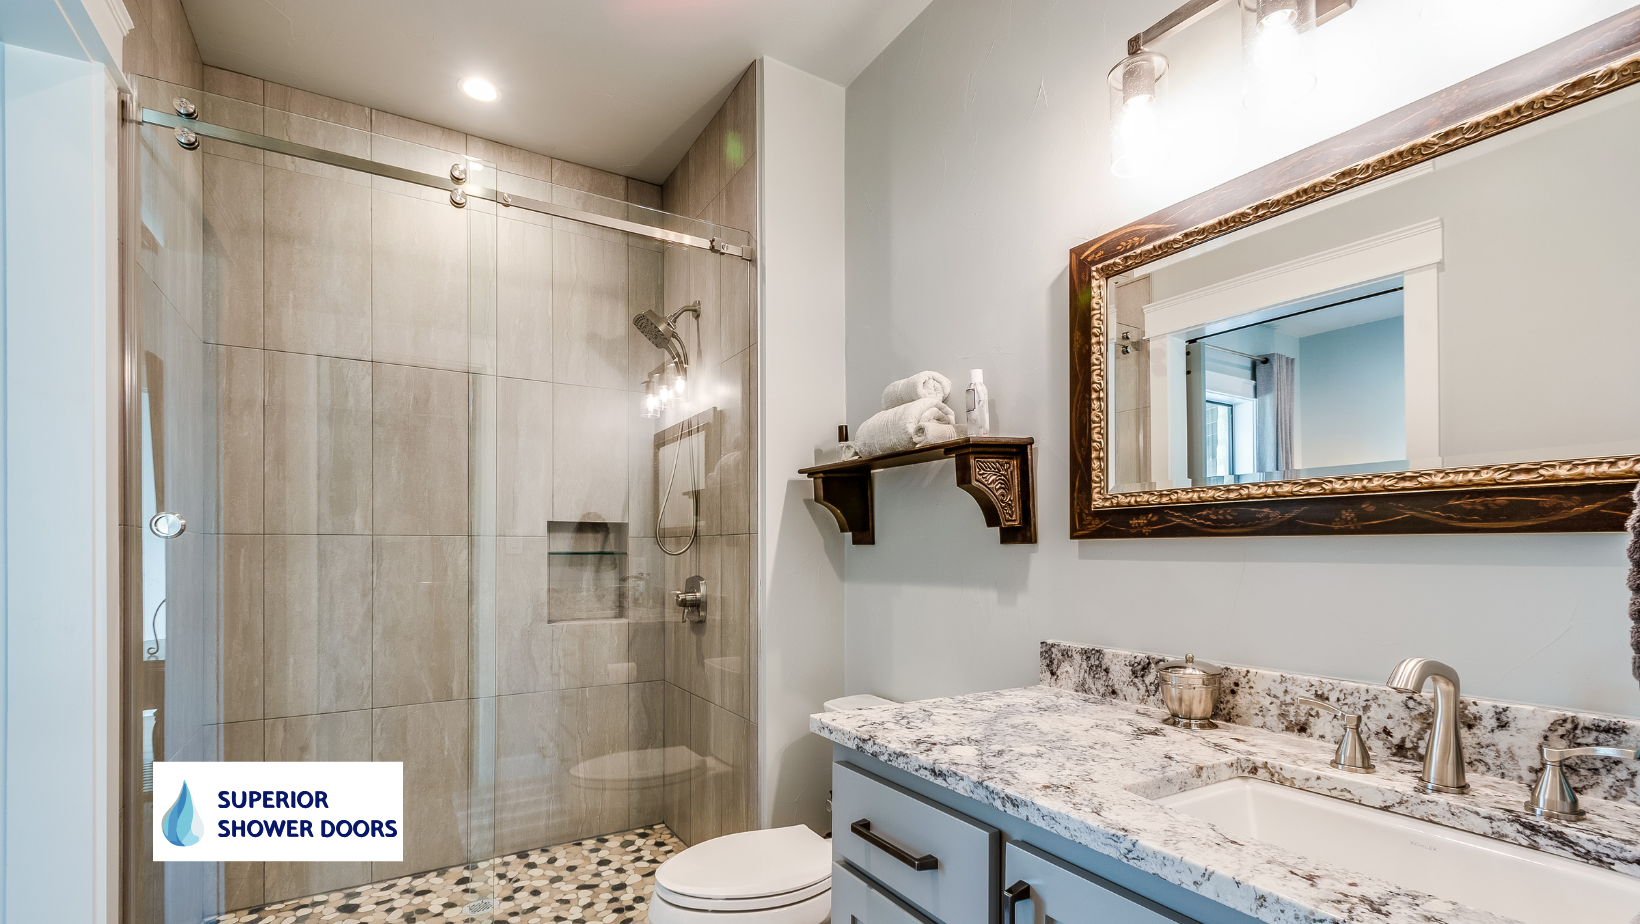
Professional Framed Shower Door Installation in Atlanta, GA
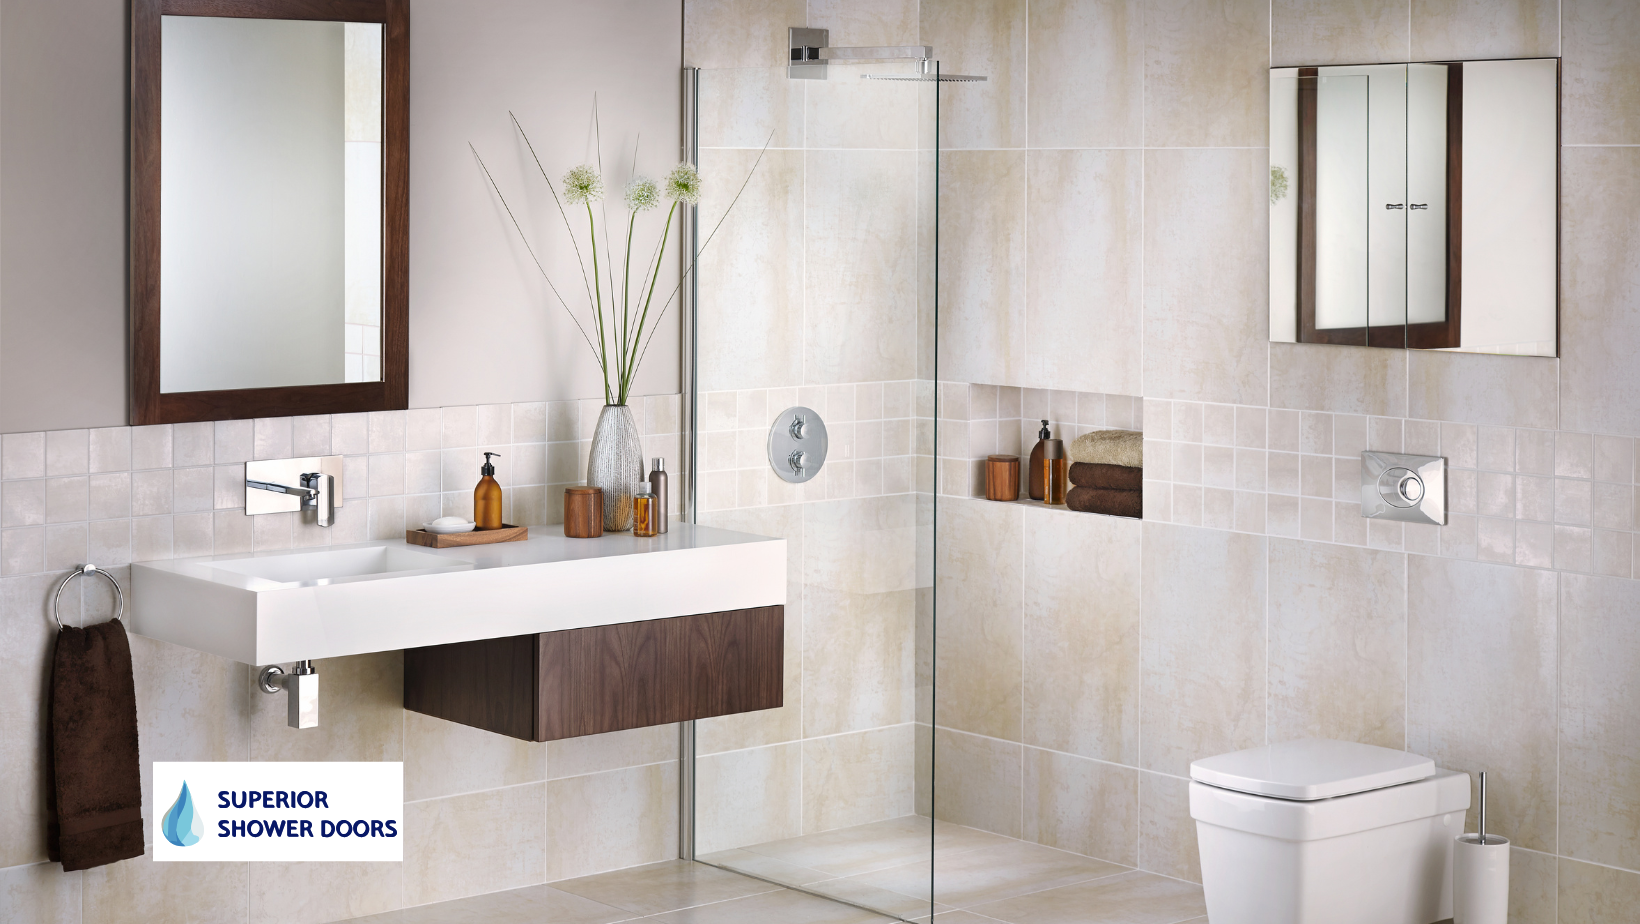
Upgrade Your Bathroom with a Modern, Minimalist Touch
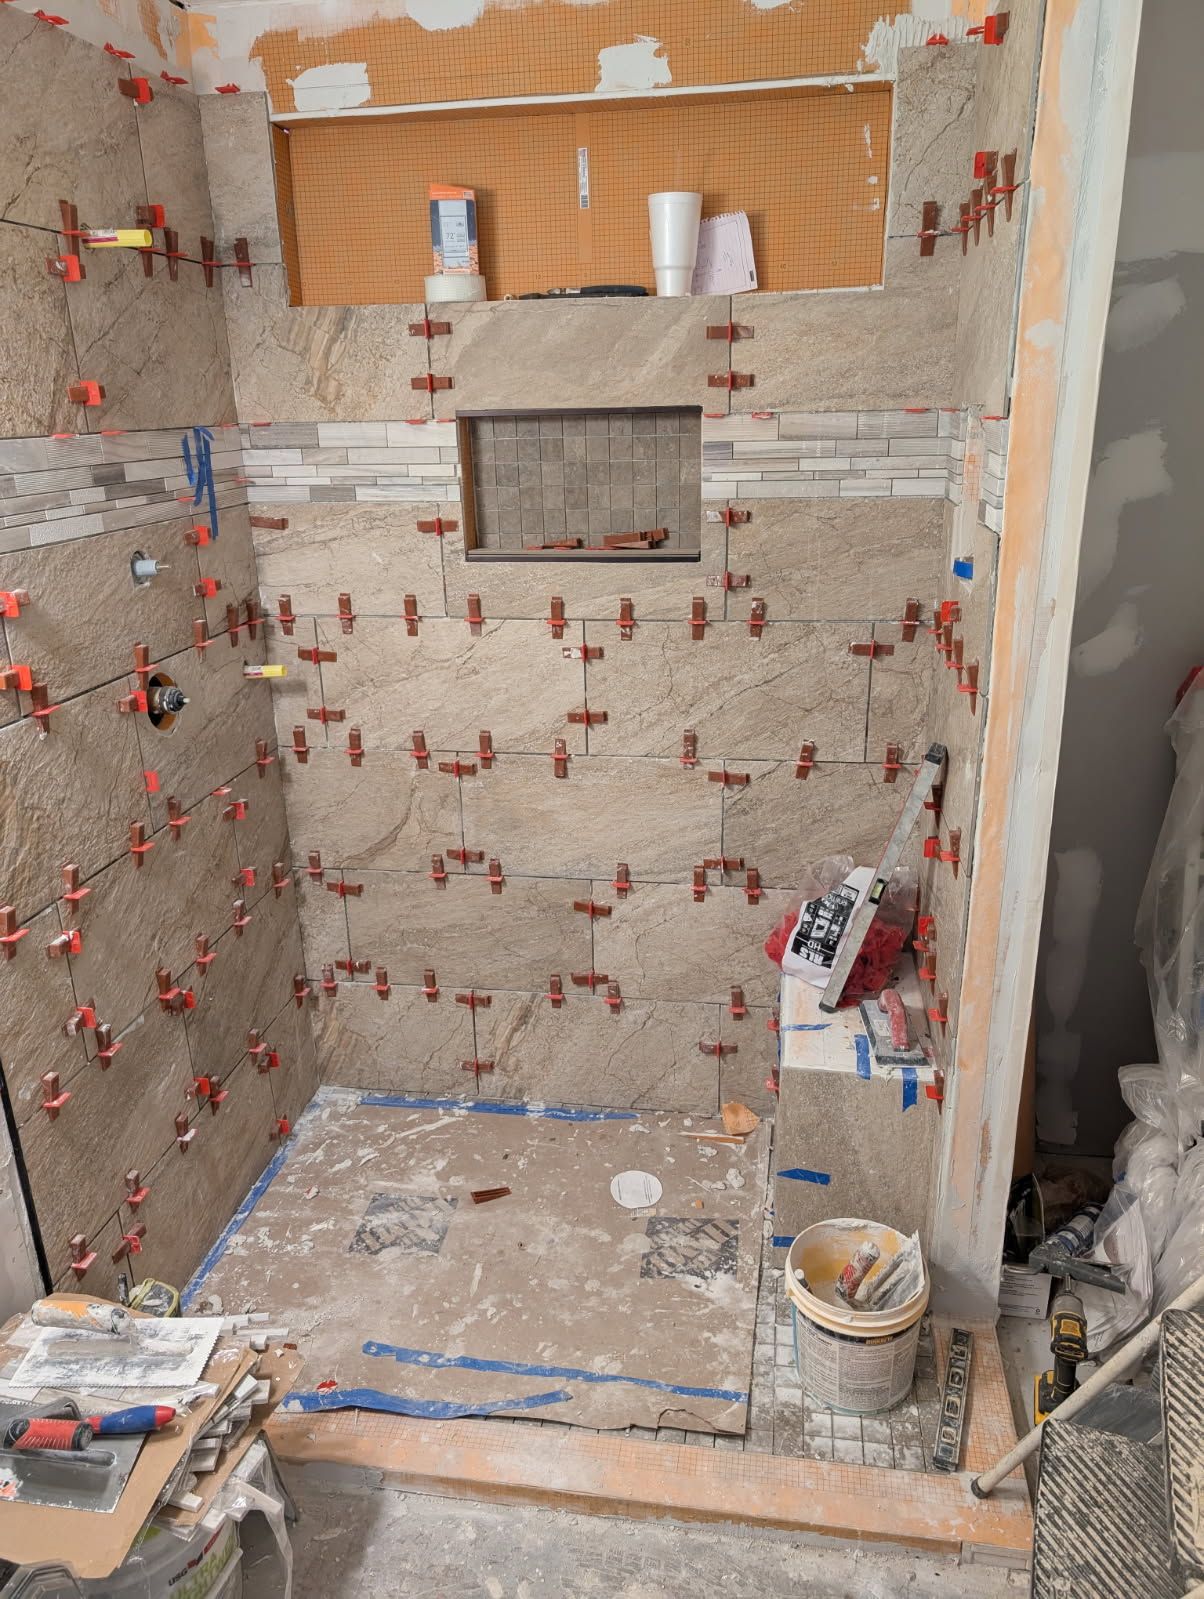
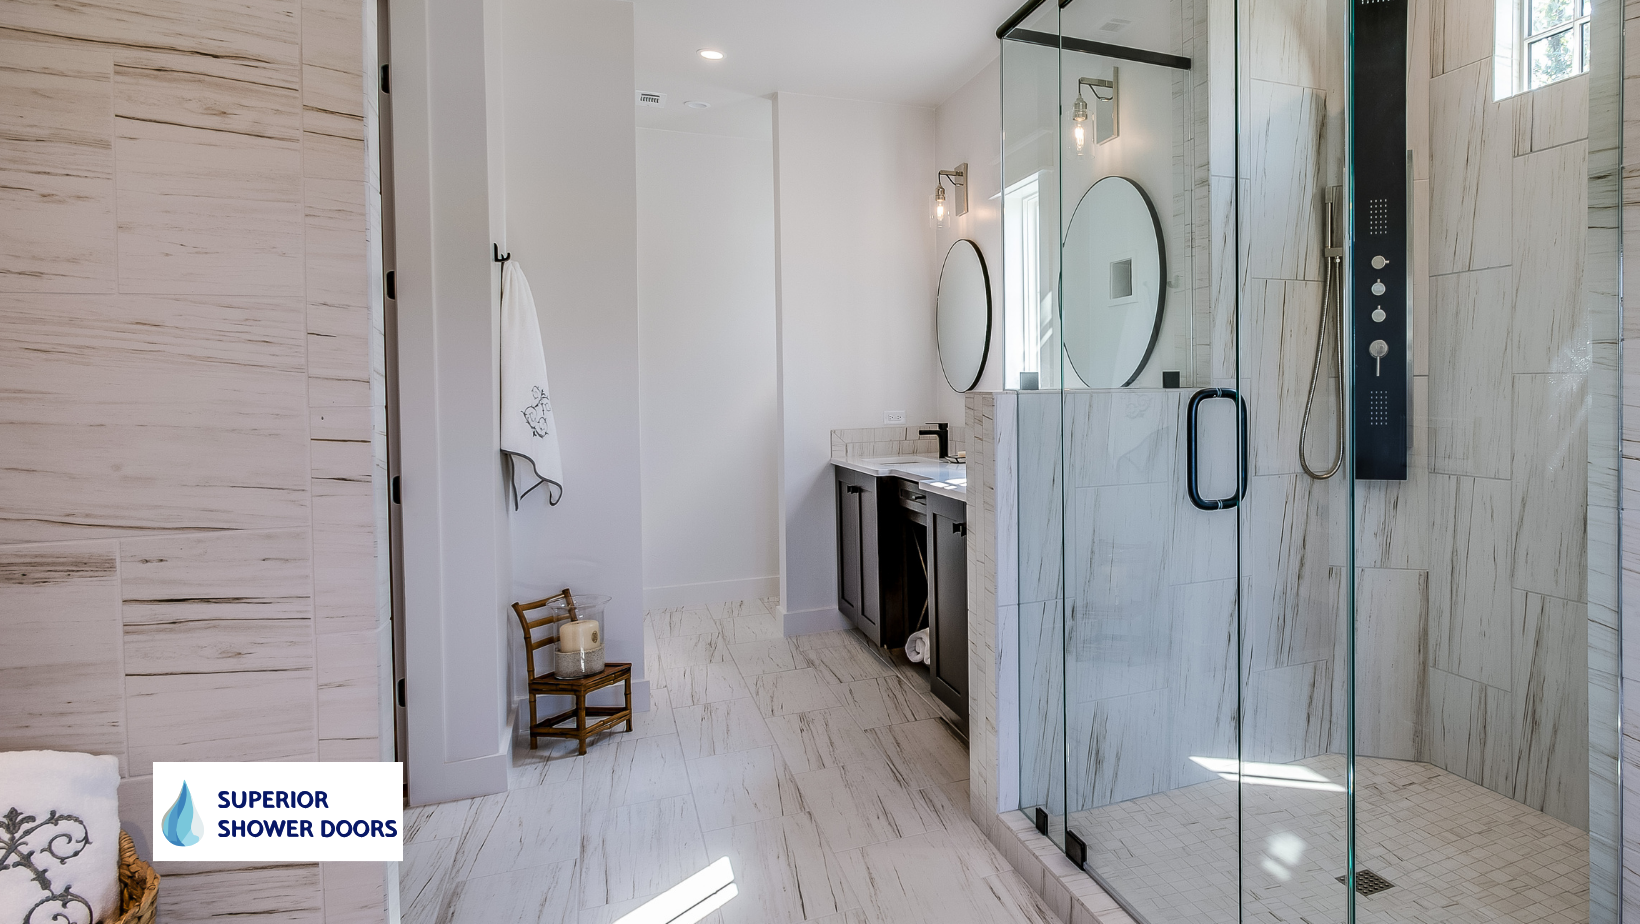
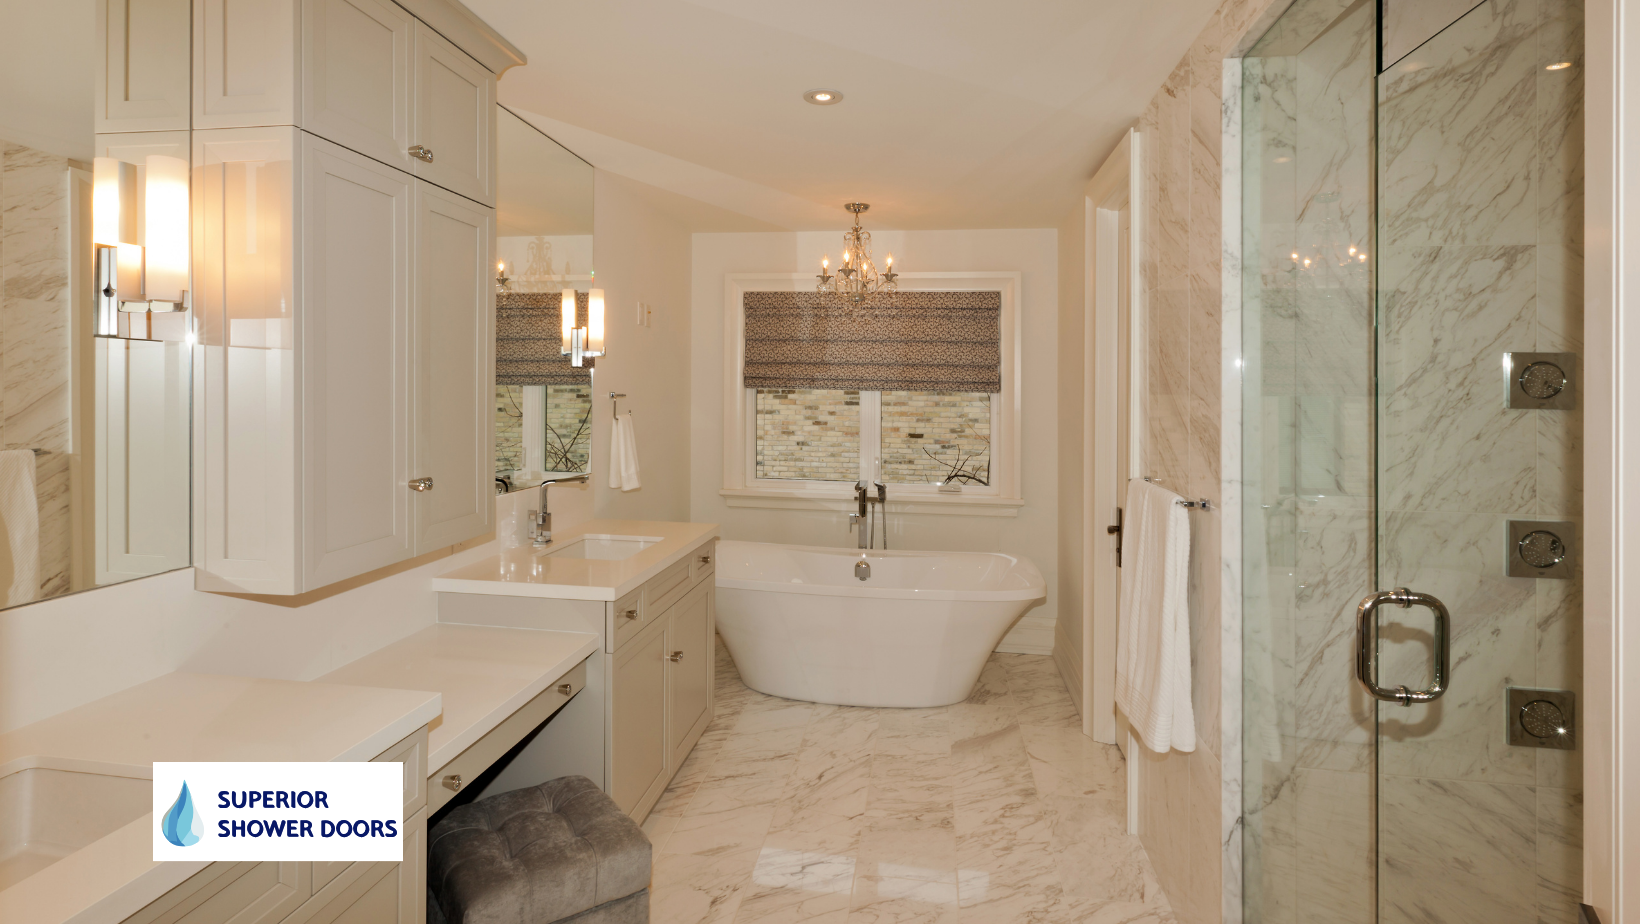
Transform Your Bathroom with Professional Shower Door Installation
Setting the Standard for Quality and Service
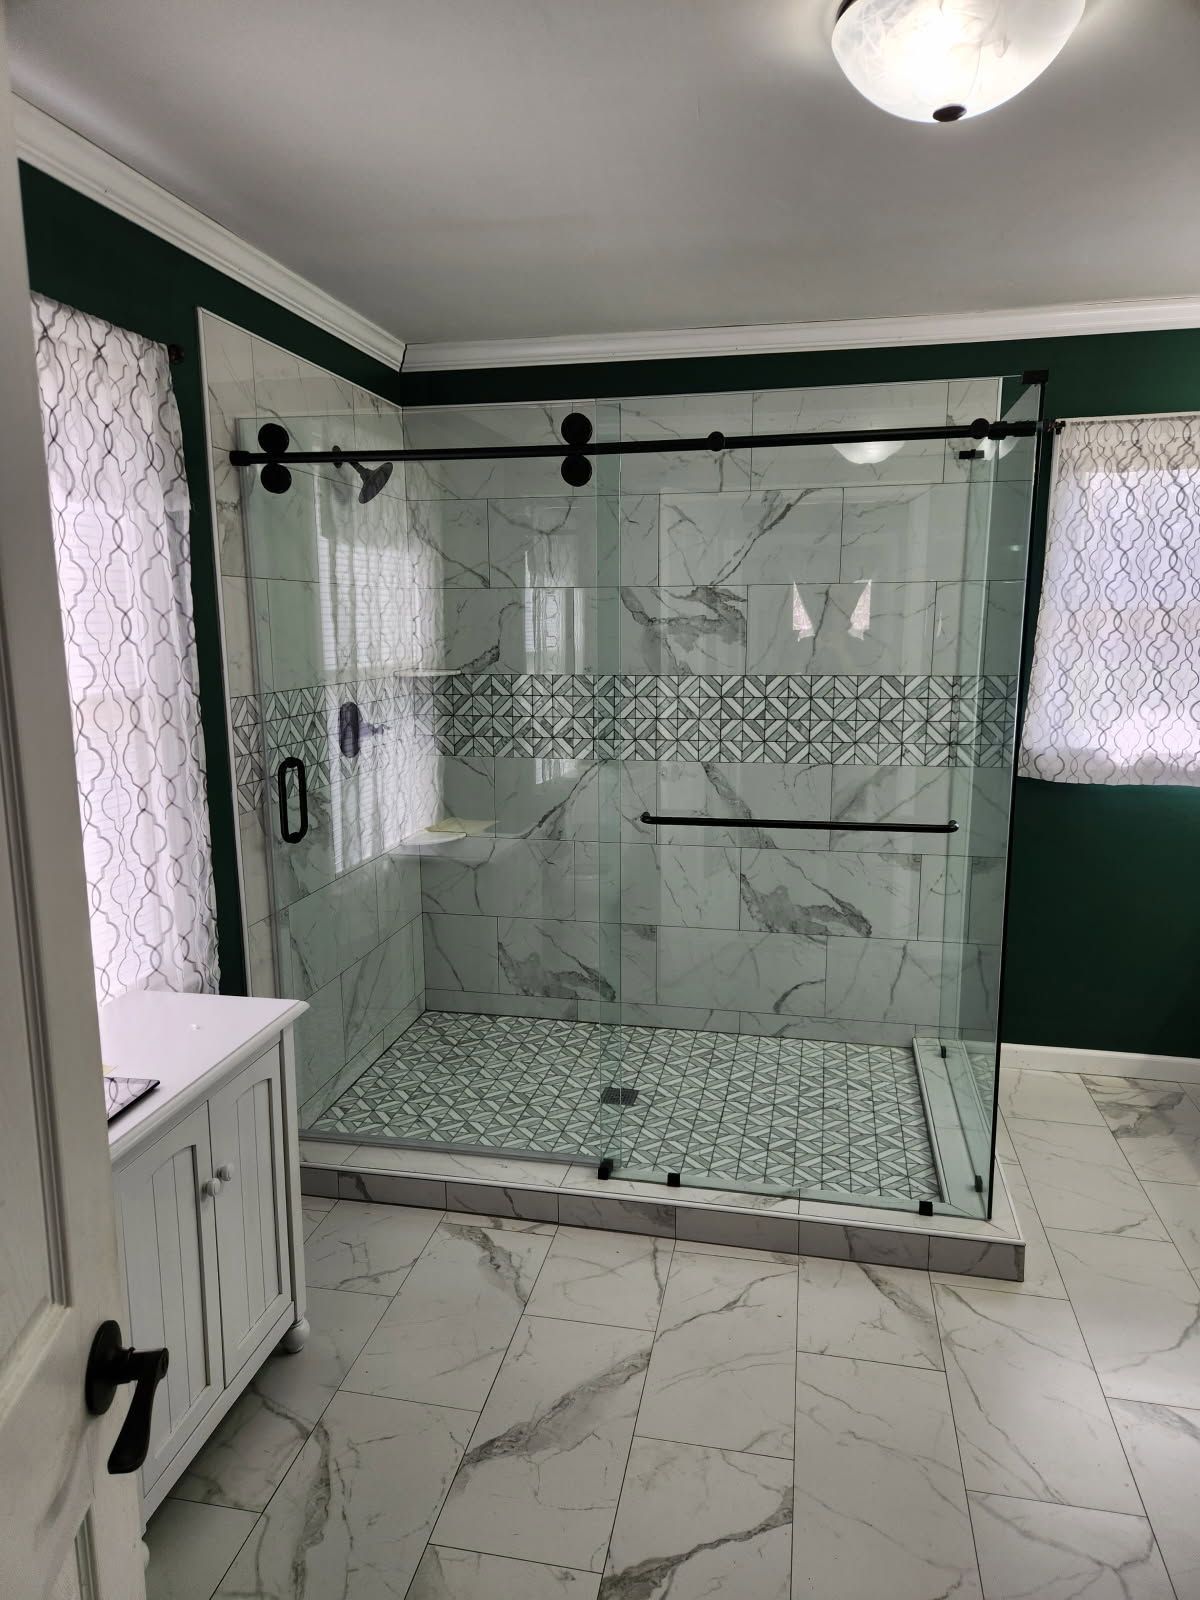
The Perfect Shower Door Is Just a Call Away
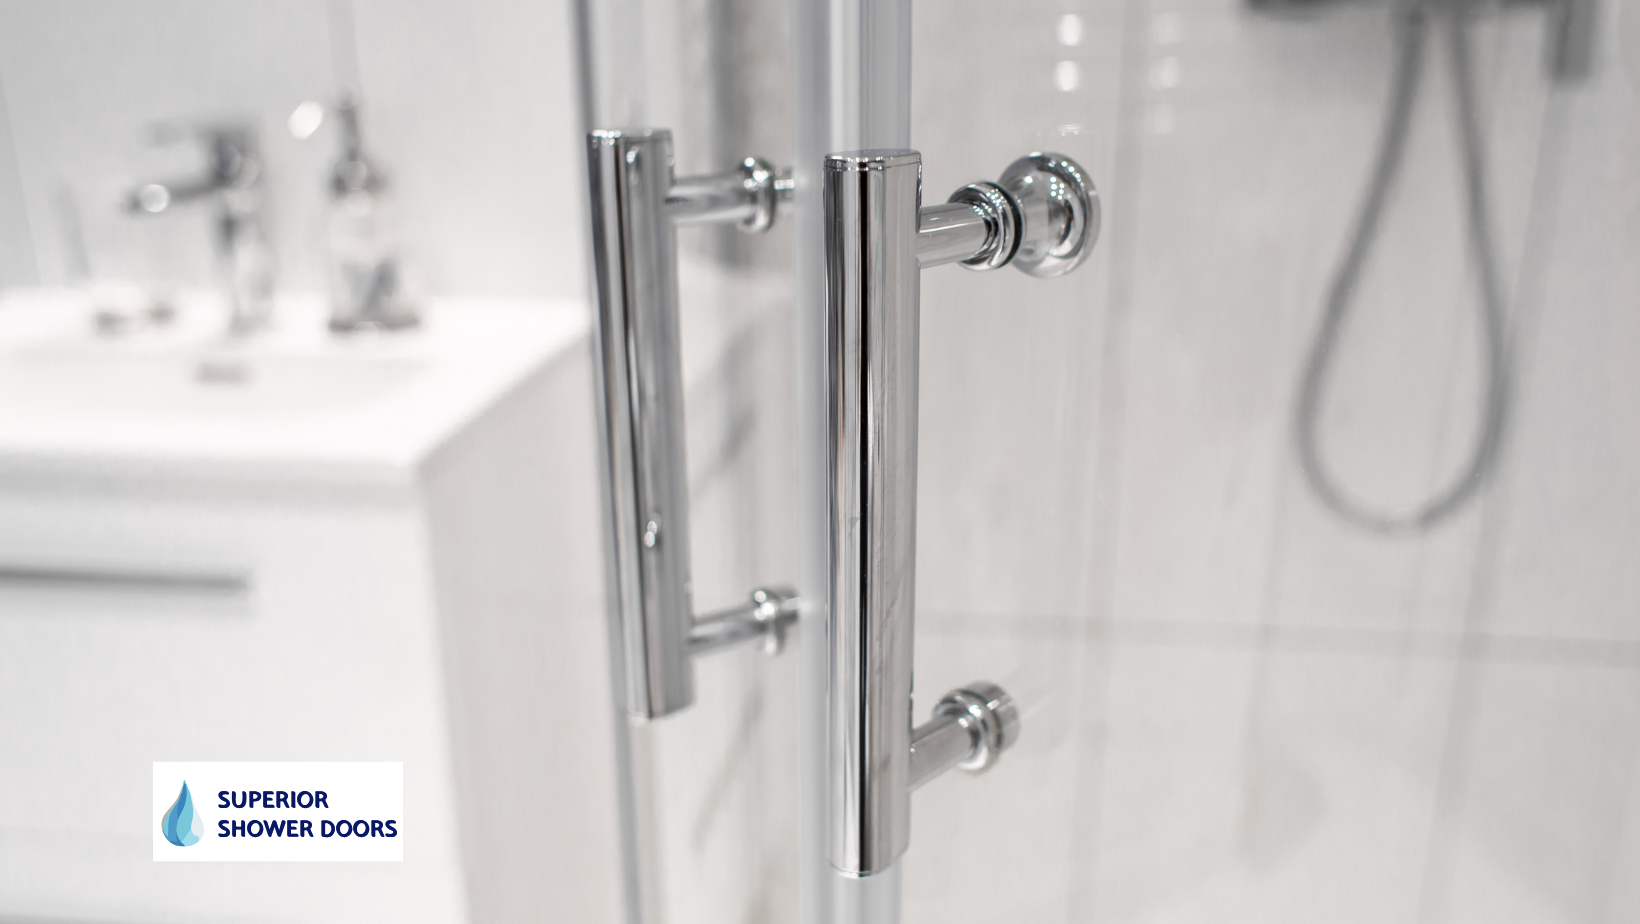
Keep Your Shower Door Looking Like New
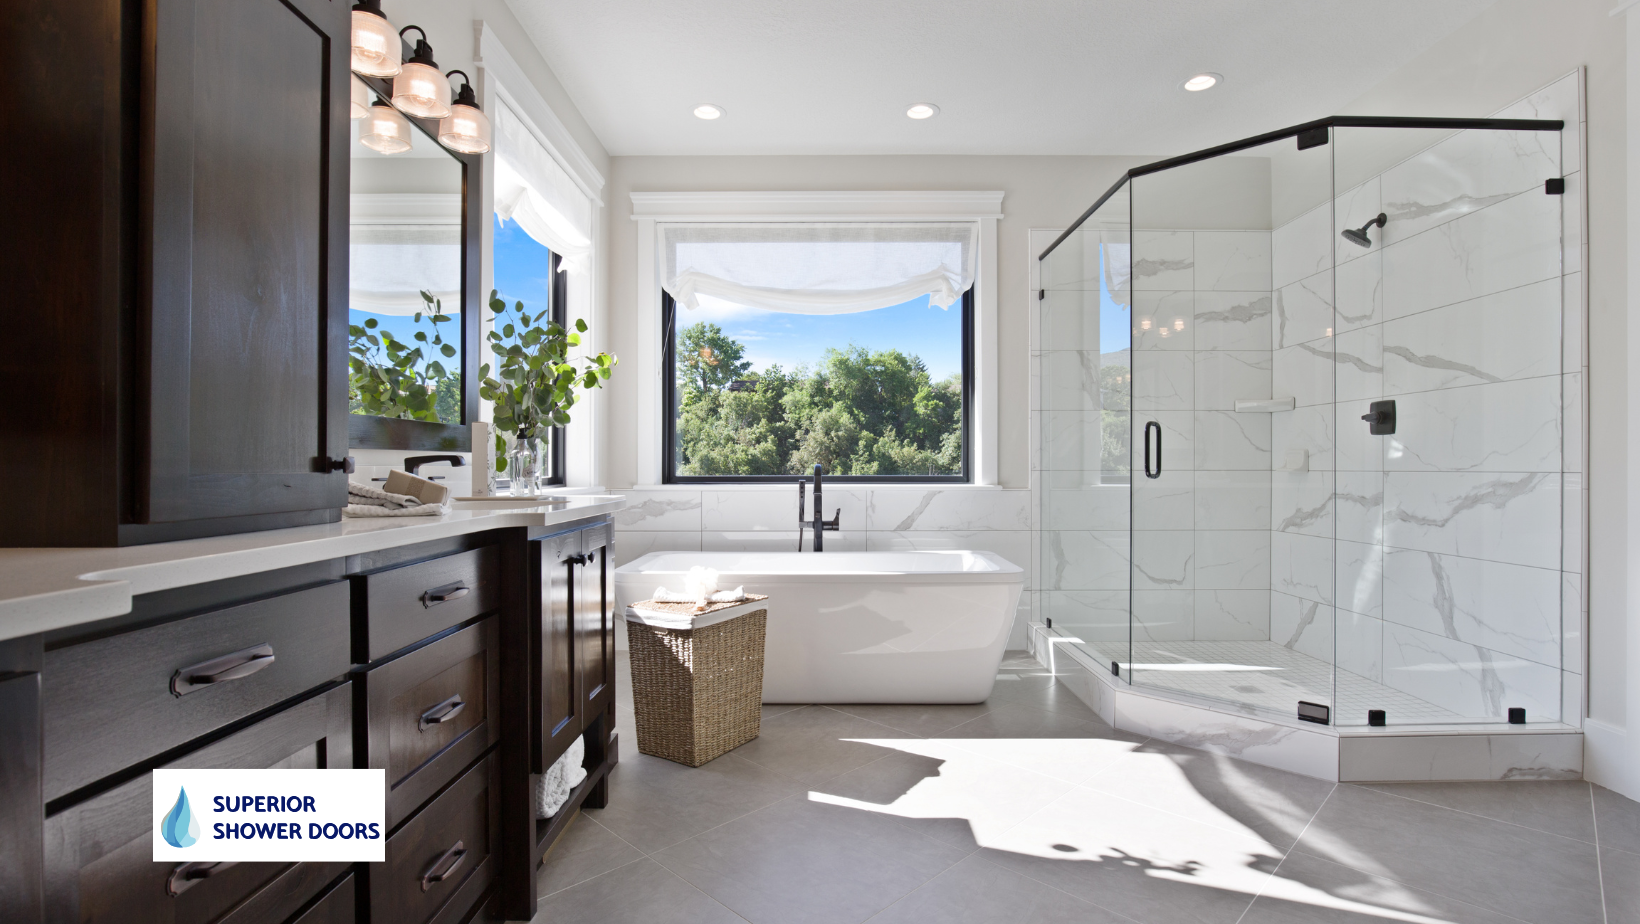
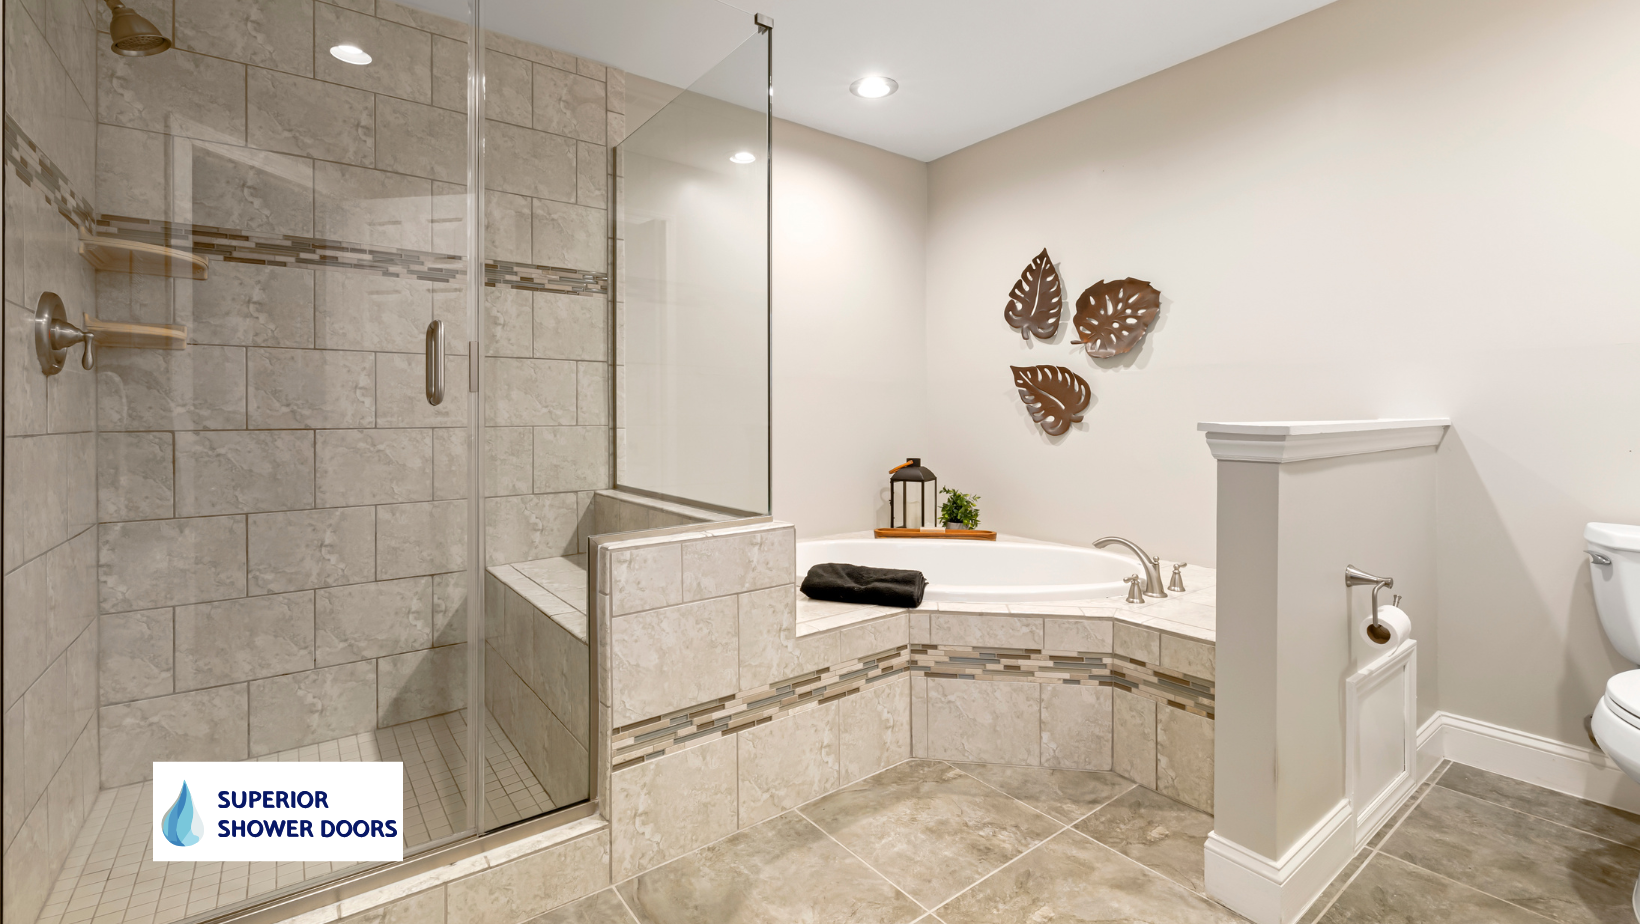
Transform Your Bathroom with Custom Shower Doors